Project management
A project in Production Planner represents a single production. It is the central workspace where your team collaborates on schedules, resources, budgets, and communication. Every other feature in the application lives inside a project.
Creating a project
To create a project, you need to belong to an organization. Every project is associated with an organization, which determines who can be invited and how membership is managed.
When creating a project, you provide:
- Name for the production (e.g., “Spring Gala 2026”).
- Description to give your team context about what the production involves.
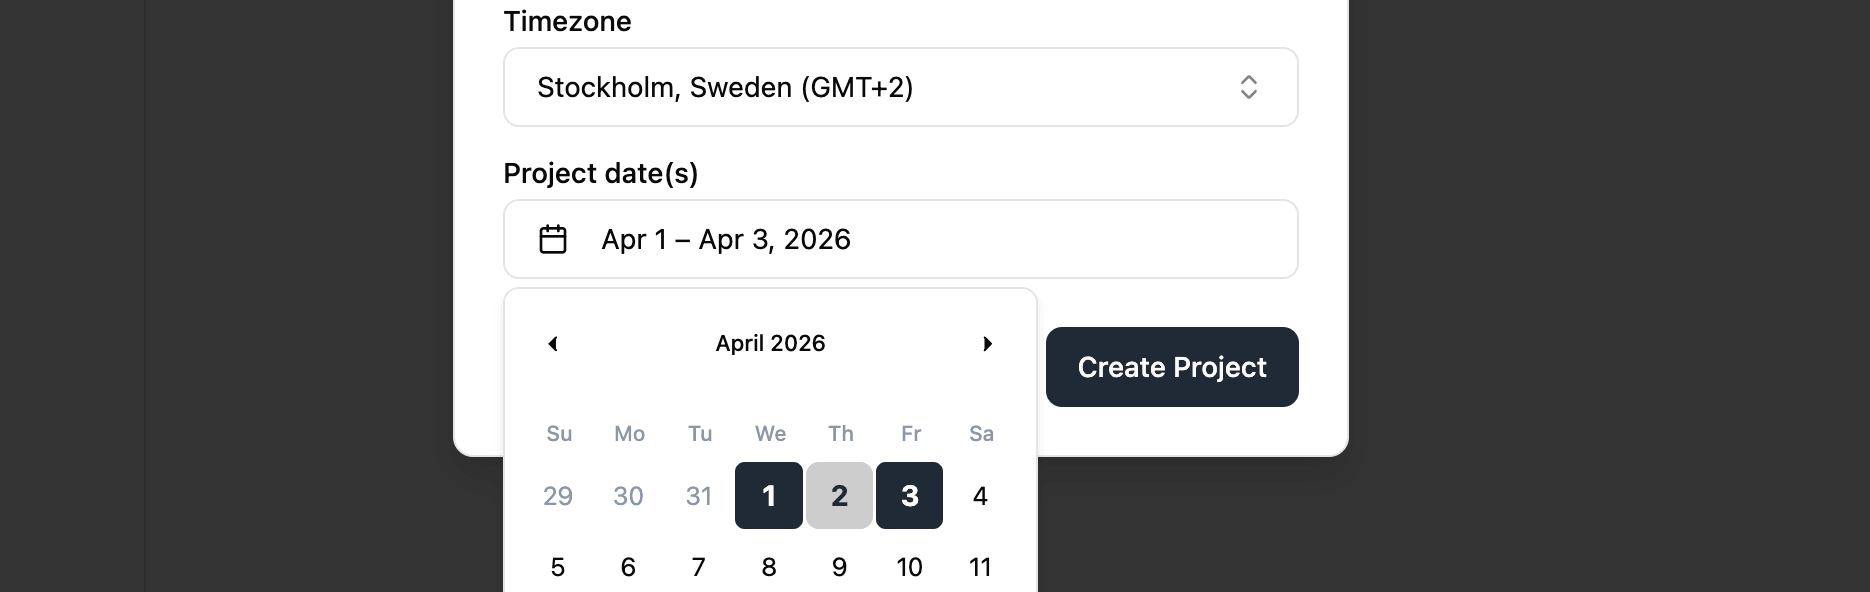
- Timezone so all schedule times are interpreted correctly, regardless of where team members are located.
- Dates the production runs. You can pick start and end dates directly in the create project dialog, so your timeline is ready to go as soon as the project is created.
Project views
The project list supports three view modes so you can browse your productions the way that works best for you:
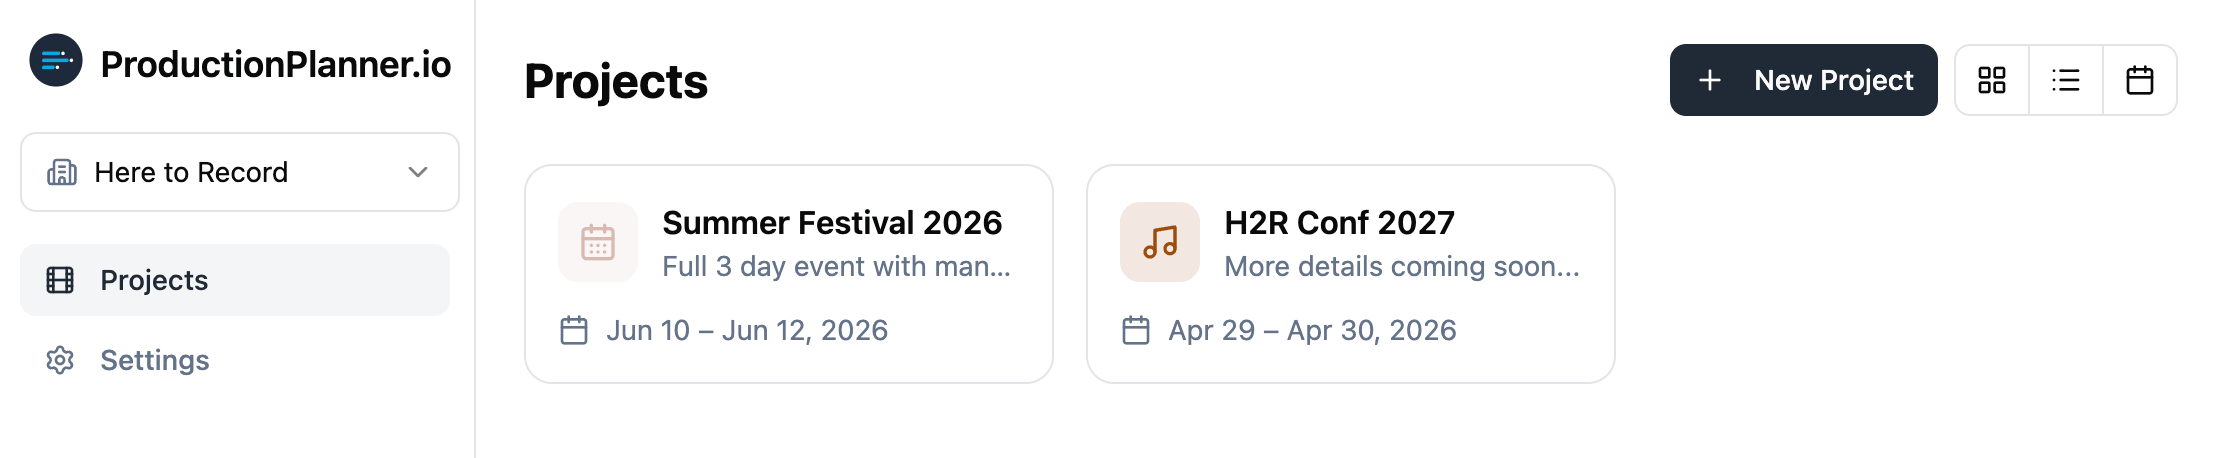
- Card view displays projects in a grid with icons, colors, and banner images.
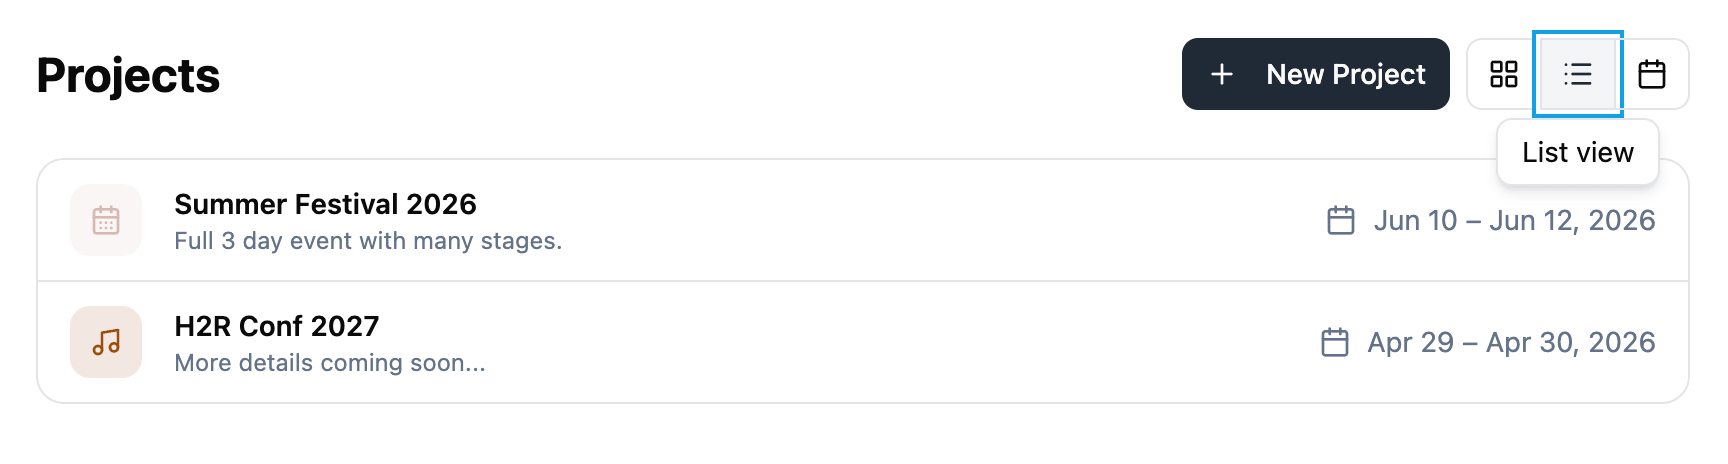
- List view shows projects in detailed rows with key information at a glance.
- Calendar view lays out projects on a timeline based on their scheduled dates.
Project dates
Each project supports multiple dates. These represent the days your production spans, such as load-in, rehearsal, and show days.
For each date you can set:
- A label (e.g., “Build Day”, “Show Day”, “Strike”).
- Whether it is an all-day event or has specific start and end times.
- Start and end times when the day is not all-day.
Project dates drive the production schedule. Each date gets its own schedule, so you can plan each day independently.
Theming and branding
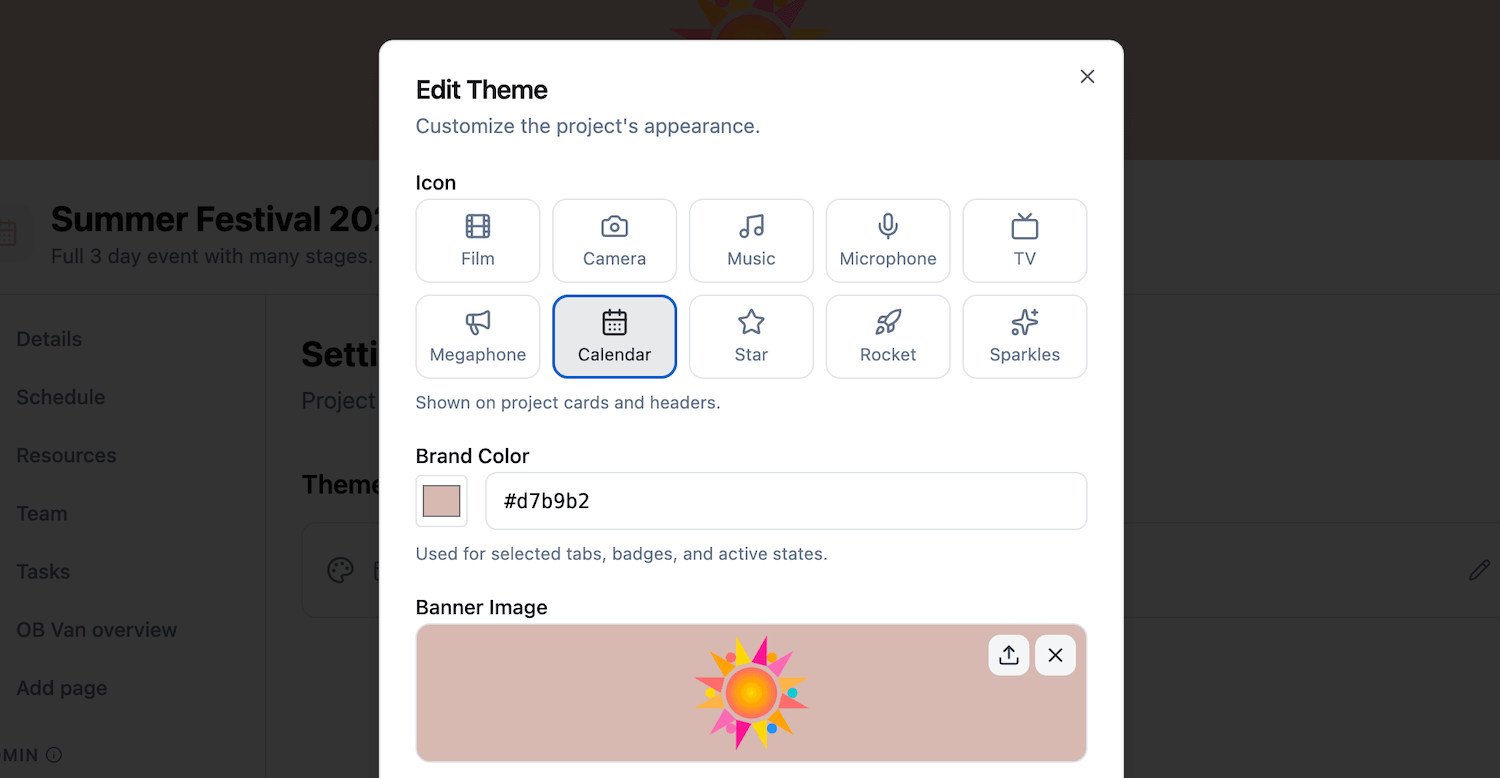
You can customize your project with branding to make it visually distinct:
- Brand color applied as an accent throughout the project.
- Banner image displayed at the top of the project.
- Project icon chosen from a set of 10 options: film, camera, music, mic, TV, megaphone, calendar, star, rocket, and sparkles.
Theming is optional. Projects without custom branding use the default appearance.
Project links
Add important links directly to your project details page. Each link has a label, URL, and icon. This is useful for linking to external ticketing systems, production documents, or streaming platforms.
Available link icons include globe, ticket, music, video, image, file, phone, mail, map pin, and generic link.
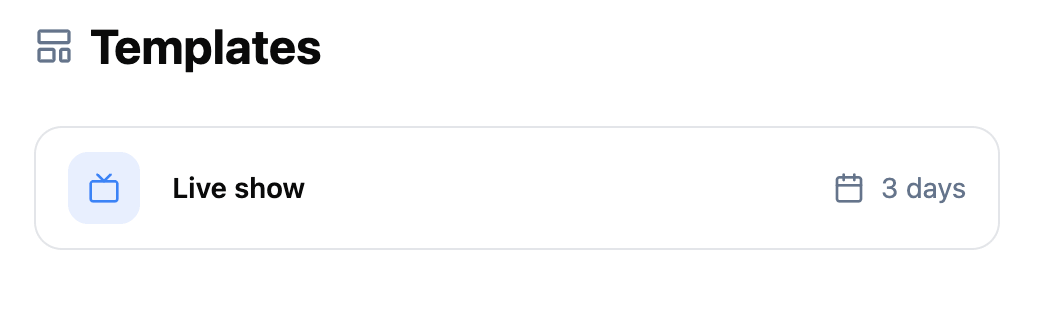
Project templates
If you run similar productions repeatedly, you can convert any project into a reusable template and create new projects from it. Templates capture how the production is set up so you do not have to rebuild the same structure every time.
To convert a project, open its Settings page and use the Project Template section. The project becomes a template: it is hidden from the main projects list, gets a banner inside the project view, and shows up under a dedicated Templates page in the side menu. You can revert a template back to a regular project at any time from the same place.
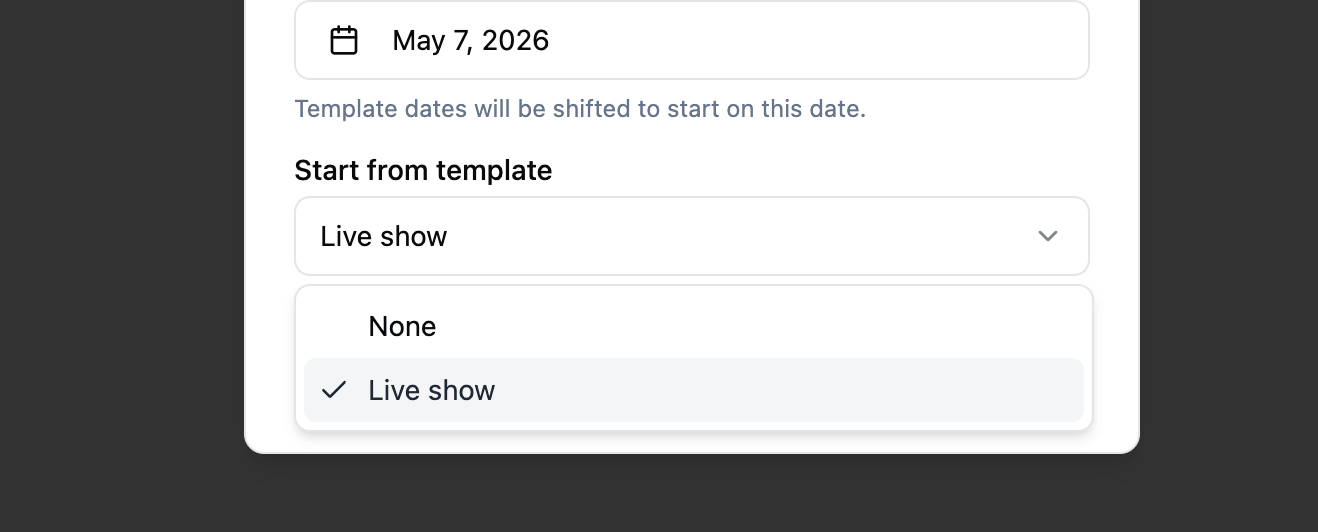
When you create a new project from the New Project dialog, any templates available in your organization appear as a “Start from template” option. Choosing a template duplicates everything that defines how the production runs:
- All project dates and the full schedule for each date.
- Budget items and the project budget cap.
- Tasks and subtasks.
- Team structure and departments.
- Resources, links, folders, and file requests.
- Locations.
- Custom pages, including note pages.
- Project theme and branding.
Conversations are not copied so the original project’s discussions stay with the original project.
When you create a project from a template you pick a new start date, and all dates shift to match. A 3-day template starting Monday becomes a 3-day project starting on the date you choose, with every schedule item, project date, and task date moved by the same offset. If you do not pick a start date the template’s original dates are copied as-is.
Activity log
Every project includes a built-in activity log that records all changes made by team members. You can access it from the project settings page.
The log shows a timestamped timeline of actions across the project, including:
- Team members added or removed.
- Resources uploaded, links added, or folders created.
- Schedule items added or updated.
- Tasks created, completed, or deleted.
- Budget items, locations, and pages changed.
Each entry shows the date and time, the team member who made the change, and a description of what happened. The log loads the most recent entries first, with the option to load older entries as you scroll.
This gives project owners and managers full visibility into what has changed, when it changed, and who changed it.
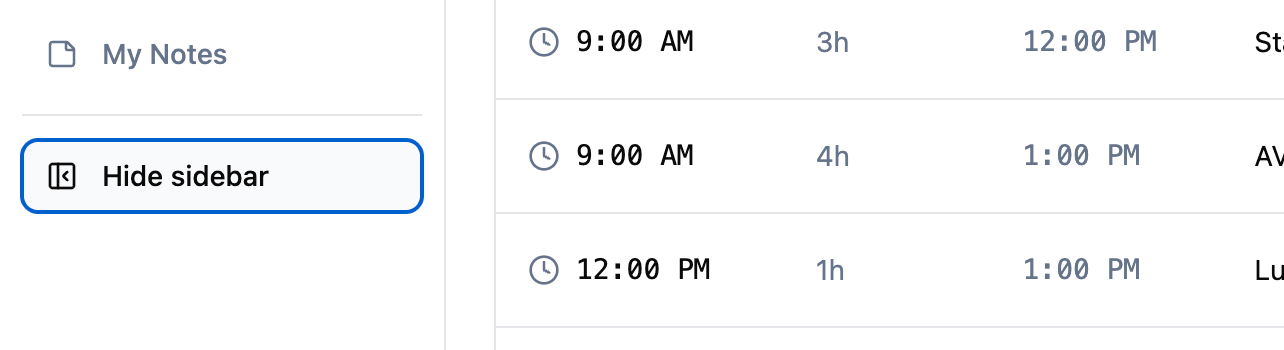
Collapsible sidebar
The project sidebar can be collapsed on desktop to give you more screen space. Click “Hide sidebar” at the bottom of the sidebar to collapse it, and click the expand icon to bring it back. Your preference is preserved as you navigate between pages.
Timezone support
Every project has a timezone setting. All schedule times are interpreted in the project timezone.
The project details page shows the timezone with the country, city, and UTC offset, so it is obvious what a time on the schedule actually means when you are running a production across timezones or handing the project off to someone in a different city.
When a team member opens the project from a different timezone, the application shows a warning so they know the times on screen may differ from their local time.
Related features