Resources & files
Resources are the files and links attached to your project. Upload documents, images, videos, and audio directly into Production Planner, or add external links to content hosted elsewhere. Organize everything into folders, and use file requests to collect specific documents from team members or external contacts.
Resource types
There are two types of resources:
- Files: documents, images, videos, or any other file uploaded directly to your project.
- Links: URLs pointing to external content such as Google Docs, Dropbox files, or any web resource.
Both types can be organized into folders, linked to schedule items, and attached to messages.
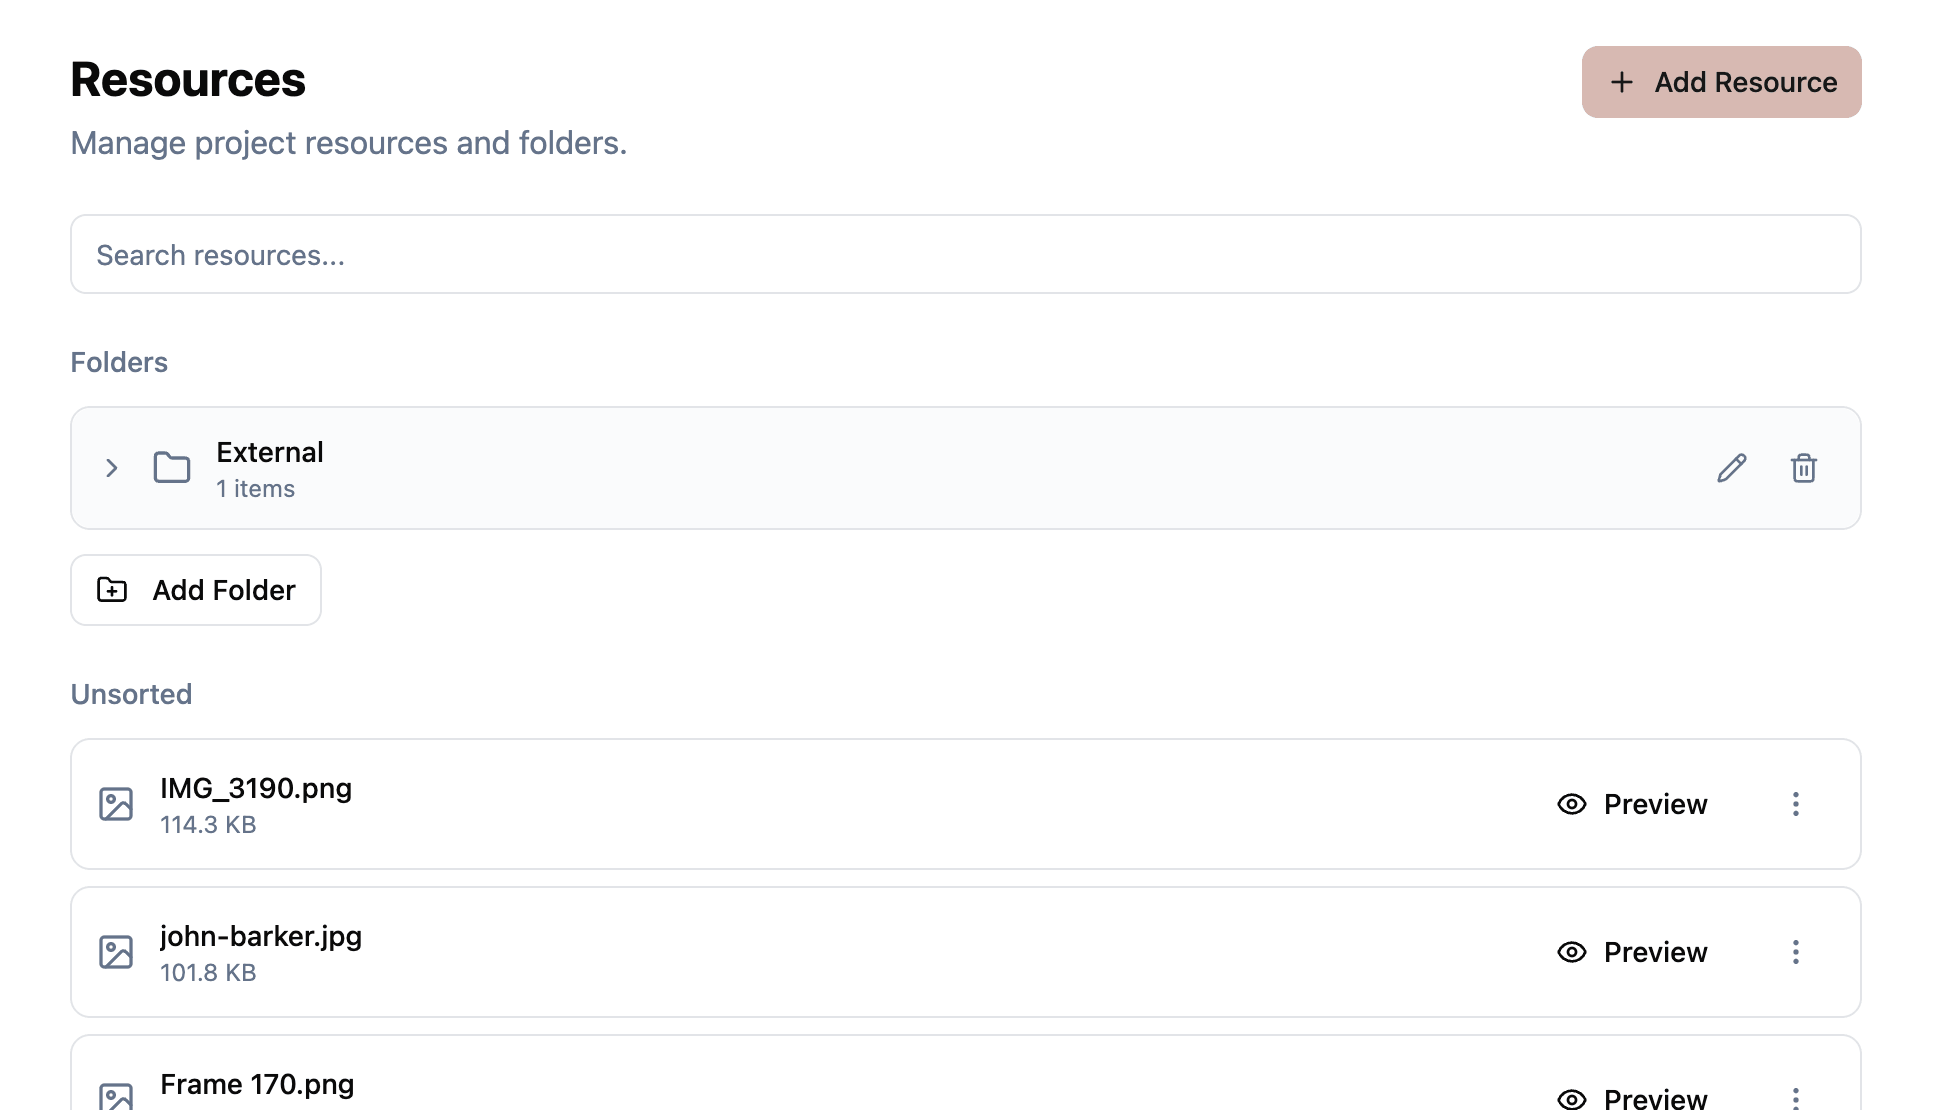
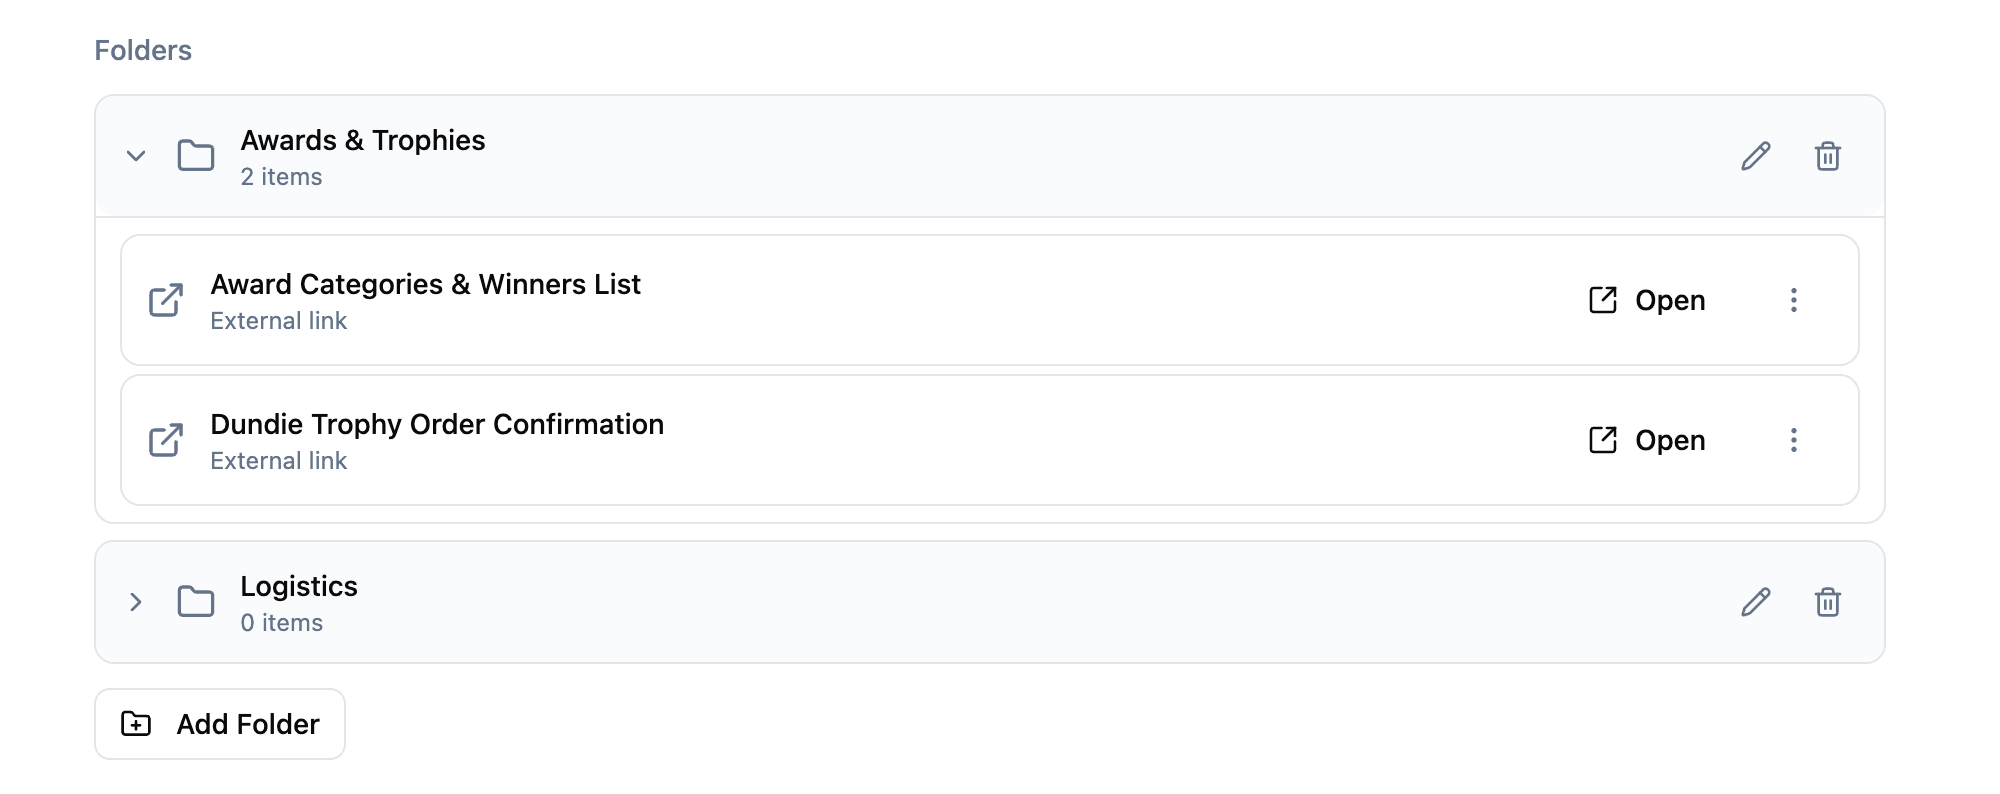
Folder organization
Create folders to keep your resources organized. Common folder structures include organizing by department (“Lighting”, “Audio”, “Catering”), by date (“Day 1”, “Day 2”), or by type (“Scripts”, “Tech Specs”, “Photos”).
- Create, rename, and delete folders.
- Move resources between folders.
- Resources without a folder appear in the root view.
Uploading files
Upload files up to 50 MB each. Files are stored securely in cloud storage and are accessible to all team members with at least read permission on the project.
You can also search across all your resources by name to quickly find what you need.
Version history
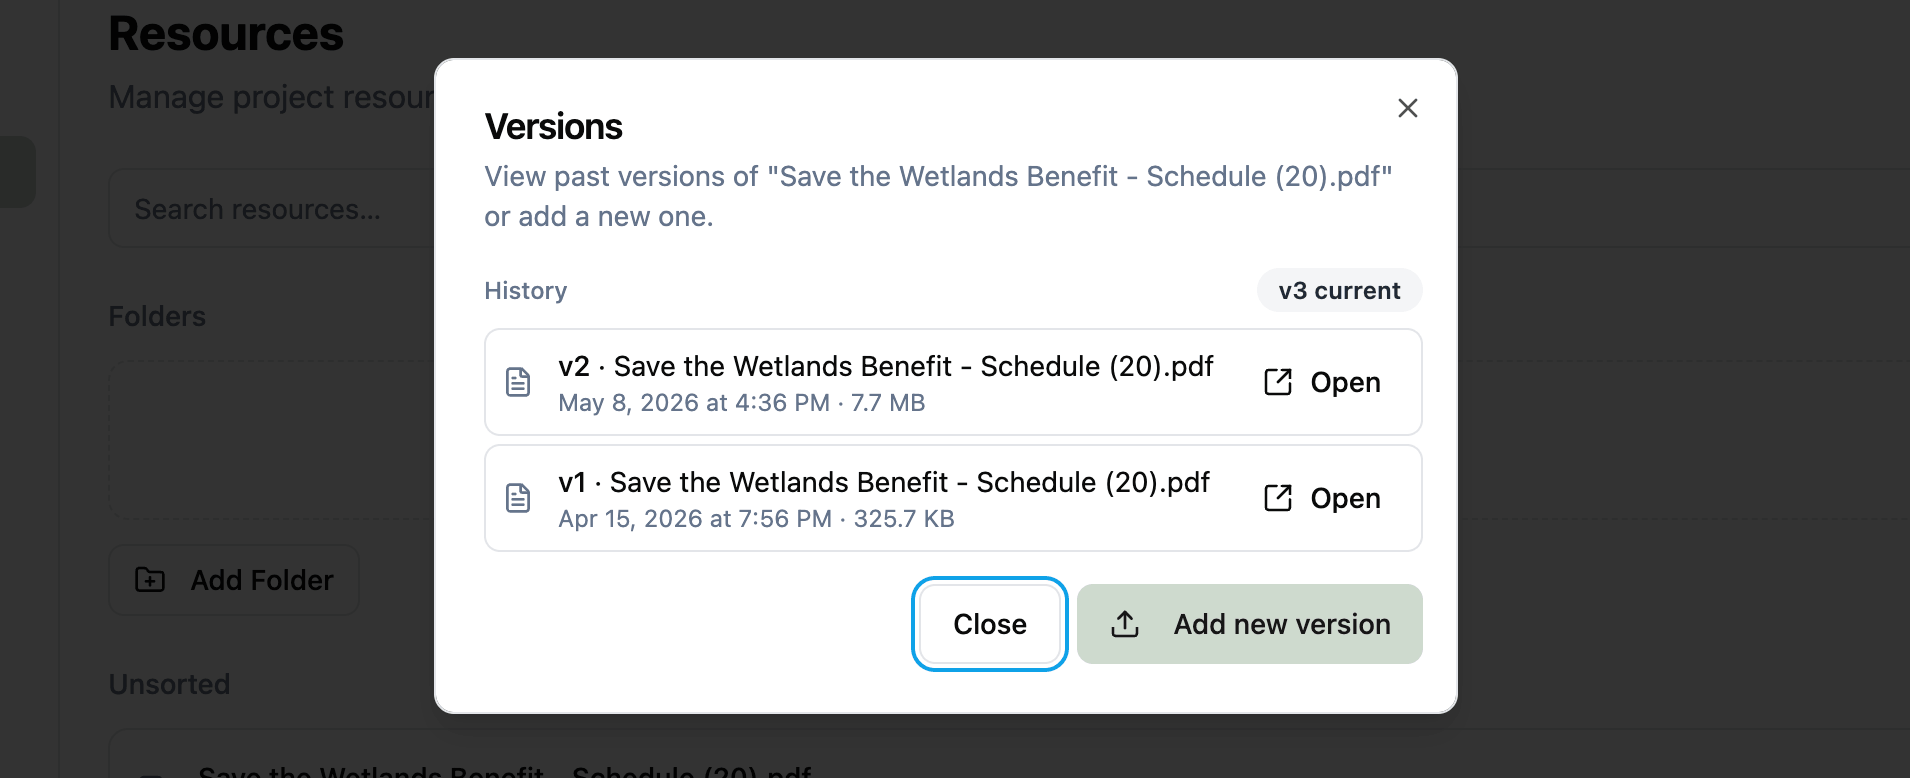
Every resource keeps a full version history. When the latest cut of a script lands, or a vendor sends through a revised technical rider, add a new version to the existing resource instead of uploading it as a new one. The previous version stays accessible from the same place, so anyone who already had the link still has the link, and a new download link automatically points at the latest version.
Open the Versions dialog on any resource to see the full history. The current version is marked with a “current” chip; previous versions are listed below with their version number, the filename or URL, the upload date, and an Open button so you can always go back to an earlier version when you need to. Click Add new version at the bottom of the dialog to upload a new file or paste a new URL.
This works for both file resources and link resources. Adding a new version to a link updates the URL but keeps the old one in history. Adding a new version to a file uploads a new file and keeps the old one available alongside the new download link.
File requests
File requests let you ask someone to upload a specific file, even if they are not a member of your project. This is useful for collecting contracts, technical riders, logos, or any document from external contacts.
When you create a file request, you specify:
- Name describing what you need (e.g., “Lighting Plot”, “Signed Contract”).
- Recipient email where the request is sent.
- Accepted file types to restrict what can be uploaded.
- Message (optional) with additional context for the recipient.
- Destination folder (optional) where the uploaded file will be placed automatically.

Accepted file types
When creating a file request, you can restrict which file types the recipient can upload:
- Any: no restrictions.
- PDF: PDF documents only.
- Presentation: PowerPoint (.pptx, .ppt), Keynote (.key), OpenDocument (.odp), and PDF files.
- Image: .jpg, .png, .webp, and .svg files.
- Word: .docx and .doc files.
- Spreadsheet: .xlsx, .xls, and .csv files.
- Video: .mp4, .mov, and .webm files.
- Audio: .mp3, .wav, and .aac files.
How file requests work
- You create a file request and specify the recipient’s email address.
- The recipient receives an email with a secure upload link.
- They upload the file using the link. No account is required.
- The file appears in your project resources, in the destination folder if one was set.
- The request status updates from “requested” to “delivered”.
Archiving resources
Resources can be archived instead of permanently deleted. Archived resources are removed from the main view but can be restored if needed.
Related features